
Setting up a blog on your website can be great for SEO, generating leads, and increasing brand awareness. Plus, you can build trust and authority with your target audience by offering free, useful content that relates to your products or services.
As a small business owner, you may be wondering how you’ll have time to blog along with the millions of other things on your to do list. In this post, I’ll share the steps to getting your blog set up on the Wix website platform (note: this includes the basic process so you can get a feel for what’s involved, but doesn’t include every detail or step). Once you get the first post published, you can use the same format and settings which makes future postings much easier. Let’s dive in!
How I Started my Blog
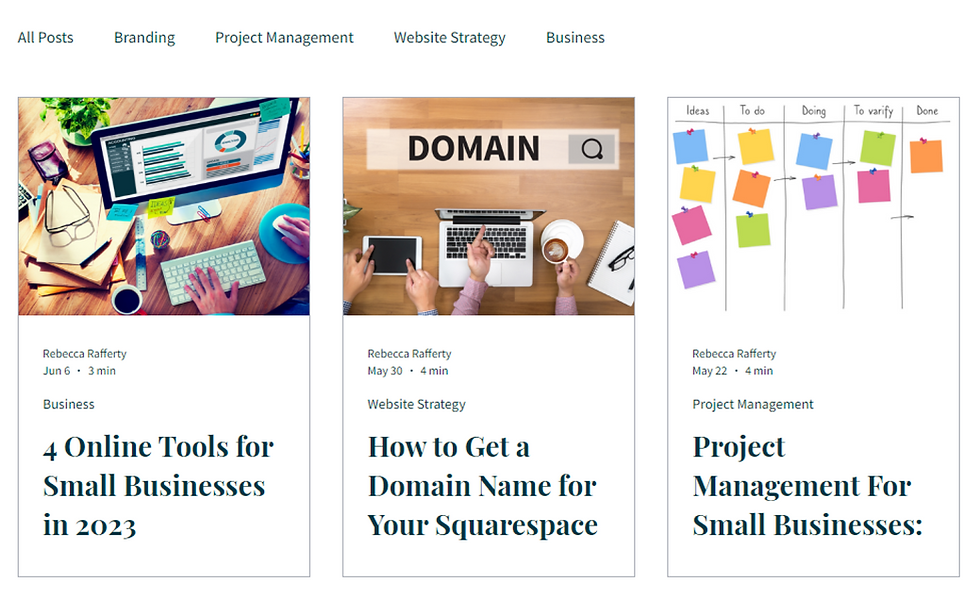
I started my Wix blog on May 7, 2023 and have been posting weekly (I’m at 5 posts right now!). I draft my posts during the week and then typically publish on Tuesdays. Realistically, I think that posting once every couple months to quarterly will work better for me and will help me achieve my goal of providing useful content for my (potential) clients. If I want to increase traffic to my site, use SEO as a marketing strategy, or have followers that want more frequent posts, I'd consider increasing my posting frequency. In the image at the top, you can see some of the posts that I’ve published and how they appear on my main blog page.
How to Set up Your First Blog Post in Wix
When editing your site, click on the “+” to add an element. Select “Blog” and then click, “Add to Site.” You can now access your blog in your Site Menu or Blog Pages.

Choosing a Template
Wix offers a variety of templates, so you can find one that fits your needs and style preferences. To select a template, click on “Manage Posts” in the website editor, or access under “Blog” on your main business Dashboard.

Adjusting Settings and Design: Blog Feed
Once you’ve chosen a template, you can adjust the settings including display, layout, and design for your blog feed (see image below). You can access the settings from your main blog page. Just click on the blog element and the “Settings” and “Manage Blog Posts” buttons will show up.

Adjusting Settings and Design: Blog Posts
Go to your actual post page to access your Blog Post Settings. Click on the Settings button to access and adjust your post settings.

Adding Content
Click on “Manage Posts” from your main blog page or blog post, or go to “Blog” and then “Posts' in your main Dashboard. When you select a template, that post will show up under “Drafts.” Click “Edit” to pull up that post and add your content. In the image below, you can see what types of elements you can add.

Tags, Categories, and SEO
After you’ve finished writing your blog post, you can add a cover image under “Settings”, optimize SEO using Wix’s SEO Assistant (it creates a checklist with guidelines for making your post SEO friendly), add a category (which allows your post to be sorted in the feed), and add tags (visitors can use these to find other posts with similar content).


Drafting and Publishing Your Blog
When you’re writing your post, I highly recommend leaving it as a “Draft.” This way it’s visible only to you. When it’s finished, click on the “Publish” button, which will make your post visible on your website. You can even schedule a post to be published on a certain date.

Duplicating a Previous Blog Post to Create a New Post
Setting up the layout and design for your first blog post is the most time consuming. After that, it’s a piece of cake! Just duplicate one of your previous posts (the copy will be saved under your drafts) and then replace the content. It’s super common and effective to keep the same format and style for all of your blog posts so there’s no need to reinvent the wheel for every post.

Final Thoughts
Setting up your first blog post and using the same format each time can save a lot of time/energy and allow you to focus on creating engaging, relevant content for your users. I love the scheduling feature on Wix. This way, I can draft the post on my own time, and still publish consistently. If you’re considering using Wix and/or posting blogs, I hope this post is helpful so you can get a firsthand preview of the interface. Happy blogging!